As a seasoned Car Turntable supplier, I've witnessed firsthand the importance of maintaining and replacing parts of a car turntable to ensure its optimal performance. In this blog post, I'll share my expertise on how to replace the parts of a car turntable, offering a step-by-step guide that combines practical knowledge with industry best practices.
Understanding the Car Turntable
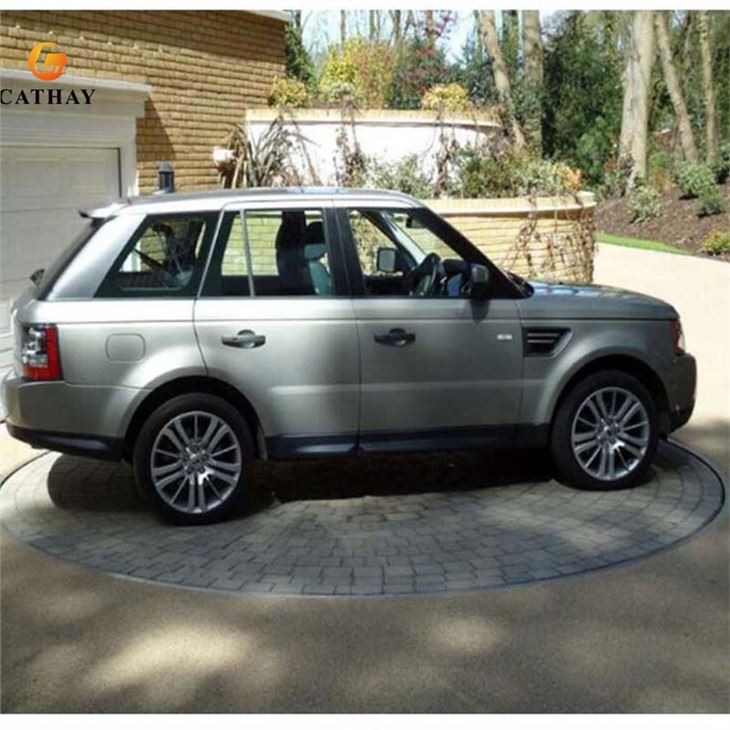
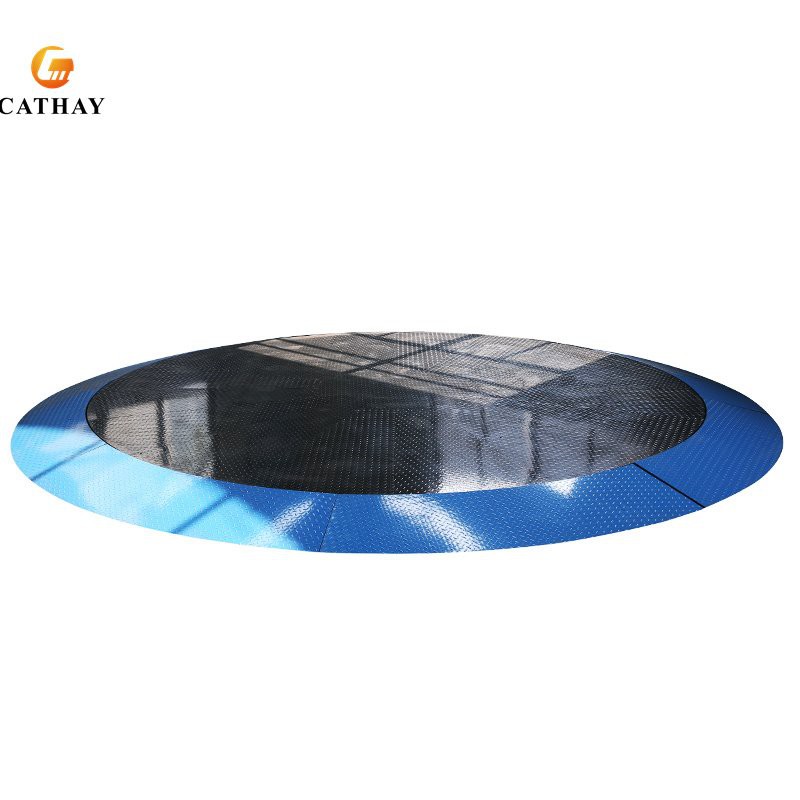
Before diving into the replacement process, it's crucial to have a basic understanding of the car turntable's components. A typical car turntable consists of a rotating platform, a drive system, a control panel, and various safety features. Each part plays a vital role in the turntable's functionality, and any malfunction can lead to performance issues or safety hazards.
Types of Car Turntables
There are several types of car turntables available in the market, each designed for specific applications. The Portable Automotive Turntable is ideal for automotive enthusiasts who need a flexible and easy-to-move solution. It's often used in auto shows, garages, and small workshops. The Parking Garage Turntable, on the other hand, is designed for large-scale parking facilities, allowing cars to turn around efficiently in limited spaces. Lastly, the Auto Show Turntable is specifically crafted for showcasing cars at auto shows, providing a smooth and eye-catching rotation.
Identifying the Parts That Need Replacement
The first step in replacing the parts of a car turntable is to identify the components that are malfunctioning or worn out. This can be done through a thorough inspection of the turntable. Look for signs of damage, such as cracks, leaks, or excessive wear and tear. Pay close attention to the drive system, as it is one of the most critical components of the turntable. Check the belts, chains, and gears for any signs of damage or misalignment.
Additionally, test the control panel to ensure that all the functions are working properly. If you notice any irregularities, such as unresponsive buttons or incorrect readings, it may indicate a problem with the control panel or its associated wiring.
Gathering the Necessary Tools and Parts
Once you've identified the parts that need replacement, it's time to gather the necessary tools and parts. The tools required will depend on the specific components you're replacing, but some common tools include wrenches, screwdrivers, pliers, and a jack. Make sure to use the correct size and type of tools to avoid damaging the parts.
When it comes to purchasing the replacement parts, it's essential to choose high-quality components that are compatible with your car turntable. As a Car Turntable supplier, I recommend sourcing parts from reputable manufacturers to ensure their reliability and performance. You can also consult the turntable's user manual or contact the manufacturer for guidance on the appropriate parts.
Replacing the Parts
Now that you have all the tools and parts ready, it's time to start replacing the components. Here's a general step-by-step guide on how to replace some of the common parts of a car turntable:
Replacing the Drive Belt
- Disconnect the Power: Before starting any work on the turntable, make sure to disconnect the power supply to avoid any electrical hazards.
- Locate the Drive Belt: The drive belt is usually located on the side or bottom of the turntable, connecting the motor to the rotating platform.
- Remove the Old Belt: Use a wrench or pliers to loosen the tension on the belt and remove it from the pulleys.
- Install the New Belt: Place the new belt on the pulleys and adjust the tension according to the manufacturer's specifications.
- Test the Belt: Reconnect the power supply and test the turntable to ensure that the new belt is working properly.
Replacing the Control Panel
- Disconnect the Power: As with any electrical work, disconnect the power supply before starting.
- Remove the Old Control Panel: Unscrew the control panel from its mounting location and carefully disconnect the wiring harness.
- Install the New Control Panel: Connect the wiring harness to the new control panel and secure it in place using the screws.
- Test the Control Panel: Reconnect the power supply and test the control panel to ensure that all the functions are working correctly.
Replacing the Safety Sensors
- Disconnect the Power: Always disconnect the power supply before working on the safety sensors.
- Locate the Sensors: The safety sensors are typically located around the perimeter of the turntable.
- Remove the Old Sensors: Unscrew the sensors from their mounting brackets and disconnect the wiring.
- Install the New Sensors: Connect the wiring to the new sensors and mount them in the same location as the old ones.
- Test the Sensors: Reconnect the power supply and test the sensors to ensure that they are detecting objects correctly.
Testing the Car Turntable
After replacing the parts, it's crucial to test the car turntable to ensure that it's working properly. Start by performing a visual inspection to make sure that all the parts are installed correctly and there are no loose connections. Then, test the turntable's rotation by turning it on and off a few times. Check for any unusual noises, vibrations, or jerks during the rotation.
Next, test the control panel to ensure that all the functions are working as expected. Try adjusting the speed, direction, and other settings to make sure they are responsive. Finally, test the safety sensors by placing an object in front of them and verifying that the turntable stops rotating immediately.
Maintenance Tips
To prevent future issues and ensure the long-term performance of your car turntable, it's important to follow a regular maintenance schedule. Here are some maintenance tips to keep in mind:
- Clean the Turntable Regularly: Remove any dirt, debris, or grease from the turntable's surface and components. This will help prevent corrosion and damage.
- Lubricate the Moving Parts: Apply lubricant to the belts, chains, gears, and other moving parts to reduce friction and wear.
- Inspect the Electrical System: Check the wiring, connectors, and switches for any signs of damage or loose connections. Replace any faulty components immediately.
- Test the Safety Features: Regularly test the safety sensors, emergency stop buttons, and other safety features to ensure that they are working properly.
Conclusion
Replacing the parts of a car turntable may seem like a daunting task, but with the right knowledge and tools, it can be a manageable process. By following the steps outlined in this blog post and adhering to a regular maintenance schedule, you can keep your car turntable in optimal condition and ensure its reliable performance for years to come.
If you're in the market for a new car turntable or need replacement parts, I invite you to reach out to us. As a trusted Car Turntable supplier, we offer a wide range of high-quality turntables and components to meet your specific needs. Contact us today to discuss your requirements and explore our product offerings.
References
- Automotive Turntable Installation and Maintenance Manuals
- Industry Standards and Guidelines for Car Turntables
- Manufacturer's Technical Documentation